
On this page
- Rinse and inspect before using a descaling solution
- Shut down and remove the cell without damaging connections
- Choose the cleaning method from what remains
- Match acid dilution, soak time, and cleaning setup to the cell
- Check water balance when deposits return
- Verify seals, flow, and chlorine production after cleaning
Rinse and inspect before using a descaling solution
To clean a salt cell, turn off power, remove it safely, rinse it, and inspect the plates. Descale only attached mineral buildup using your model's approved acid dilution and time limit, then rinse, reinstall, and verify chlorine output.
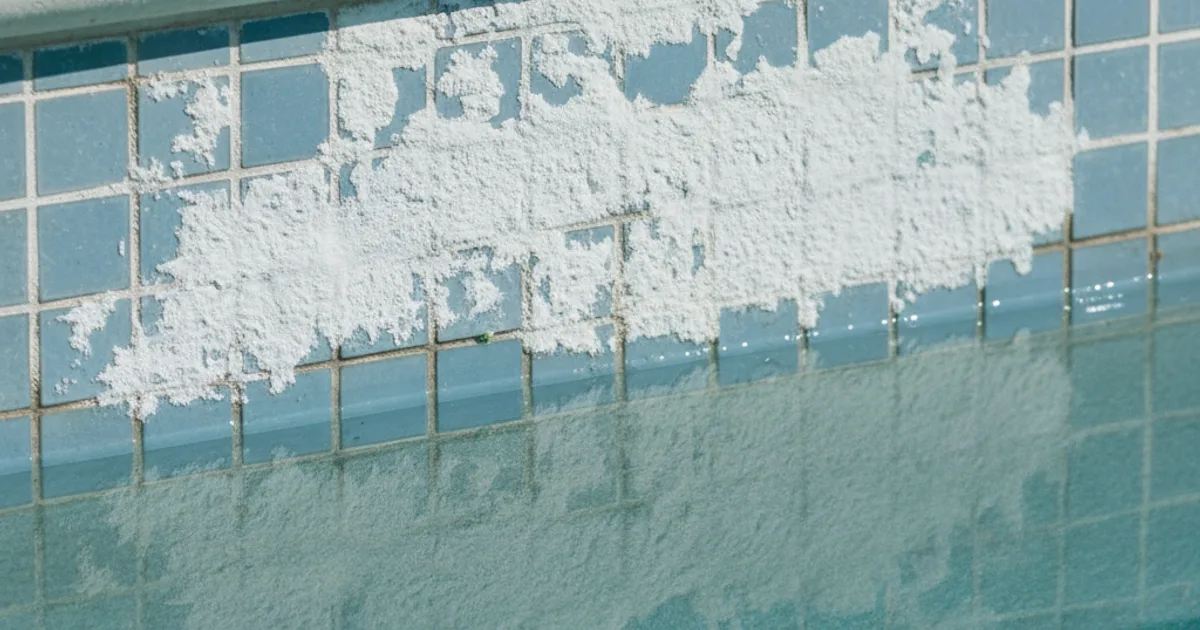
Loose debris may rinse away with a garden hose. Hard white crust attached to the plates needs a different approach. Clear spaces between clean plates usually mean there is nothing to descale.
San Diego County's imported tap water carries minerals that remain behind as pool water evaporates. Repeated top-offs add more minerals. That makes scale inspection useful, particularly for inland pools with greater summer evaporation. It does not mean every inspection should end with a chemical soak.
Find the cell's model number and cleaning instructions before disconnecting anything. A controller's brand alone may not identify the installed cell. Confirm the required cleaning stand or cap, acid strength, dilution, and treatment limit before preparing supplies.
Shut down and remove the cell without damaging connections
Turn off both the pump and chlorinator at their power sources, and prevent scheduled starts. Release pressure using the equipment manufacturer's procedure, then confirm the filter gauge reads zero before loosening cell unions.
A cell below pool water level may also need isolation valves closed to prevent continued drainage. A zero gauge reading does not prevent gravity-fed water from escaping. If you cannot identify those valves or safely relieve pressure, leave removal to our technicians.
- Record the installed position. Photograph the flow arrow, cable routing, unions, and any nearby sensor connections.
- Disconnect according to the manual. Keep electrical connectors dry. Pull on the connector body, never the cable.
- Loosen the unions carefully. Support the cell while removing it. Stop if brittle fittings, stuck unions, or twisting pipes prevent easy removal.
- Protect the seals. Set O-rings somewhere clean and inspect them for cracks, flattening, or trapped grit.
- Rinse and examine the plates. Use a garden hose and good lighting to check the gaps from both ends.
Do not use a pressure washer, screwdriver, or metal brush on the plates. Their coating is part of the chlorine-producing surface. Scraping away deposits can damage that coating and shorten cell life.
Choose the cleaning method from what remains
Choose your next step based on what remains after rinsing. Clear plates, loose debris, attached scale, and damaged components require different responses.
| What you see | What to do |
|---|---|
| Open gaps with no attached deposits | Finish rinsing and prepare to reinstall. Investigate any continuing warning separately. |
| Leaves, fibers, or other loose material | Flush gently with a garden hose. Check baskets if debris keeps returning. |
| White crust that remains after rinsing | Follow the model's approved descaling procedure. |
| Damaged plates, loose internal parts, or a cracked housing | Stop cleaning and arrange an equipment assessment. |
Santa Ana winds can load pools with leaves and dust quickly. After a wind event, check skimmer and pump baskets before assuming a flow warning means mineral buildup. Removing cell scale will not correct a blocked basket or restricted filter.
A self-cleaning cell reverses polarity to help limit deposits. That feature reduces buildup but does not eliminate inspection. Likewise, an inspection reminder can reflect elapsed operating time rather than a measurement of actual scale.
Match acid dilution, soak time, and cleaning setup to the cell
Confirm your exact model's dilution and contact-time instructions before mixing chemicals. Common Hayward TurboCell and Pentair IntelliChlor guidance calls for 4 parts water to 1 part muriatic acid. That means, for example, 4 cups of water plus 1 cup of acid, not 4 cups of finished solution.
Plan for treatment measured in minutes, not hours. Hayward's AquaRite troubleshooting guide describes 15-minute intervals for TurboCell cleaning. Pentair's IntelliChlor IC15, IC20, IC40, and IC60 instructions set a maximum of 30 minutes. These are model-specific examples, not interchangeable soak times. Confirm your manual's acid concentration and timing before using either example.
Wear chemical-resistant gloves, splash goggles, and protective clothing as directed by the chemical label. Work outdoors in a ventilated area, away from children, pets, and other pool chemicals. Avoid breathing fumes.
Add acid slowly to water, never water to acid. Never mix acid with chlorine products or other cleaners. Use an acid-resistant container approved for the procedure, and keep electrical terminals out of the solution.
Can you clean a Hayward cell without a stand?
A compatible cleaning stand or purpose-made cleaning cap seals one end so the cell can hold solution upright. Use the correct seal and support the cell securely. Hayward's AquaRite guide also describes positioning the TurboCell vertically in a bucket. Use that alternative only when your model's instructions permit it and you can keep the wiring connection dry. Do not improvise with a loose plug or submerge the entire assembly.
When should the soak stop?
Set a timer before treatment and check progress as directed. Stop when deposits are removed or the model's time limit arrives. A maximum duration is a ceiling, not a target. Bubbling alone does not justify extending treatment, and repeated acid exposure can damage the electrode coating.
Do not substitute vinegar unless the manufacturer approves it for that cell. Vinegar's lower strength does not make an overnight soak appropriate or establish an equivalent cleaning time. If deposits survive the permitted treatment, our technicians can confirm the next step after inspecting the equipment.
Handle spent solution according to its label and applicable disposal requirements. Do not empty it into a storm drain. Rinse the cell thoroughly with fresh water before reinstalling it.
Check water balance when deposits return
Test pH, calcium hardness, total alkalinity, and water temperature when scale returns quickly. Together with salinity and other balance factors, these measurements help determine how readily calcium carbonate deposits form.
The cell creates conditions near its plates that favor scale formation. Rising pH and concentrated minerals can make that problem worse. Cleaning removes existing deposits, but adjusting the underlying water balance helps reduce their return.
Use your equipment manufacturer's water targets and evaluate the saturation index rather than correcting calcium hardness in isolation. Our technicians check the combined balance before recommending chemical adjustments. Adding salt does not soften pool water or remove calcium.
Inland summer heat increases evaporation, so record top-offs alongside water test results. If deposits return sooner as refill frequency rises, check the pool's mineral concentration and balance. Coastal pools still receive mineral-heavy source water, even when cooler conditions reduce evaporation.
Follow the manufacturer's inspection interval, then shorten it if actual buildup warrants closer checks. Record the inspection date and whether scale was present. That history is more useful than automatically giving the cell an acid treatment every month.
Verify seals, flow, and chlorine production after cleaning
Reinstall the cell in its original orientation, seat the seals correctly, and tighten connections according to the manual. Before restoring chlorination, check for dry unions and proper water circulation.
Restore isolation valves to their operating positions before starting the pump. Follow the equipment startup procedure and inspect for leaks. Restore chlorinator operation only with proper circulation, keeping connectors dry throughout.
Allow the controller its specified startup period before interpreting readings. Reset an inspection reminder only after completing the inspection. A cleared reminder does not prove the cell is producing enough chlorine.
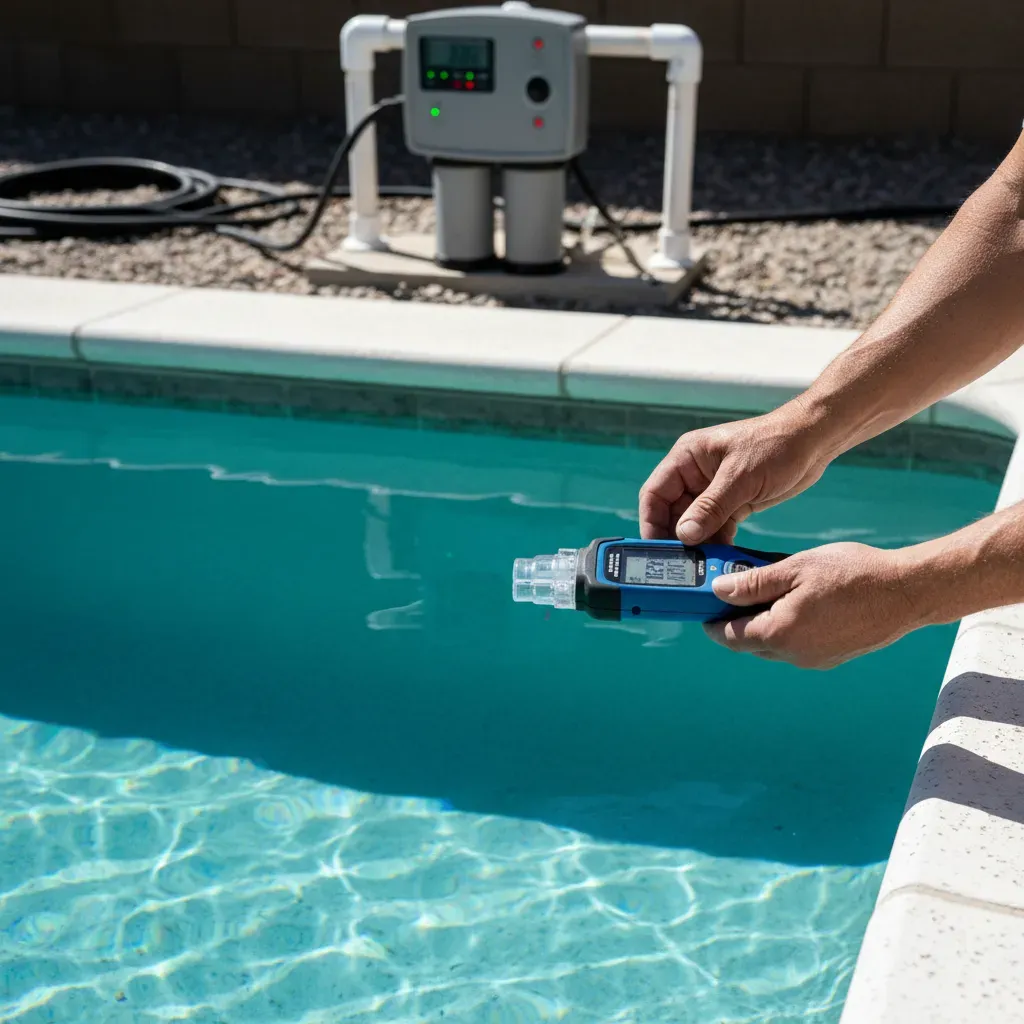
Test free chlorine with a suitable pool test kit and compare the result with the pool's operating target. Record the result and recheck after the normal chlorination cycle. An immediate reading mainly reflects chlorine already in the pool; it cannot establish cell output by itself.
If plates are clean but warnings remain, avoid another chemical soak. Check flow, independently measured salinity, water temperature, and controller diagnostics instead. Do not add salt solely because the controller reports a low reading. Confirm the pool's salinity first.
Contact our San Diego saltwater pool service team when scale survives approved cleaning, unions leak, or output remains low. Have the model number, warning message, recent water readings, and cleaning date ready. Those details help our technicians choose the next equipment checks.

Kyle Bowman
Founder of PoolLogic · CPO-Certified
Kyle is the Founder of PoolLogic Pool Service and a Certified Pool Operator (CPO) with deep expertise in pool service, water chemistry, and pool equipment repair. He oversees every aspect of PoolLogic's operations to ensure San Diego pool owners receive expert-level care.
Read morePool service done right
Need professional pool service?
PoolLogic Pool Service provides expert pool cleaning, maintenance, and repair services throughout San Diego County.